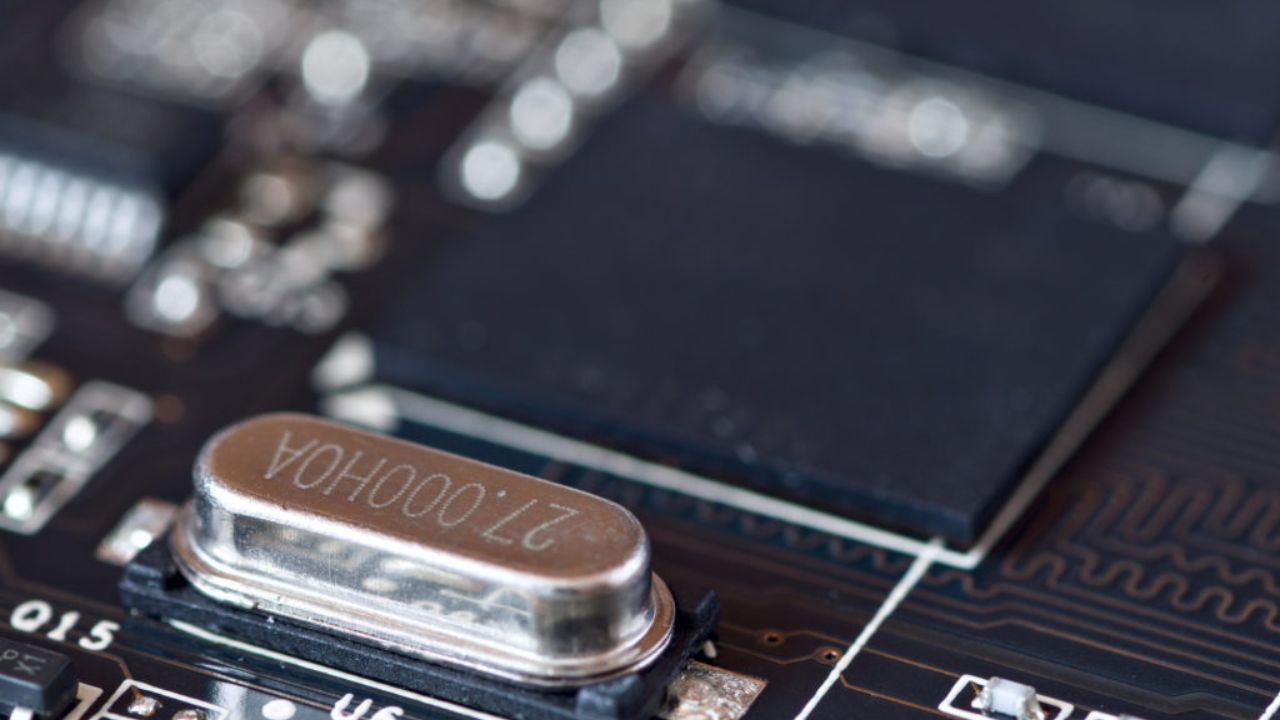
In 3D printing, 3D model slicing software is used to create paths that 3D printers can follow while printing objects. The paths resemble geometric instructions that the 3D printer can understand. Additionally, the slicer can be used to cut the CAD design into layers depending on the available settings and the type of computer. The instructions also tell the printer the speed at which to print for different points of the objects. Also, it provides guidelines on the thickness that the printer should adopt. However, instructions like thickness can be fed to the printer manually, depending on the type of printer. There are several 3D slicing software in the market, each of which works differently. In this post, we dig into how 3D slicing software works.
Settings
Before you start using a slicing software, you first need to adjust some settings. The settings can affect the quality of the printed object as well as its uniqueness. The settings include;
- Layer Height
The layer height is responsible for the height of the filament layer of the final print. Prints that are made with thin layers tend to be more detailed and feature a smoother surface. Such prints also do not show the individual filament layers. However, if you are looking to create prints at a faster rate, a thicker layer would work better. However, a thick layer will result in a rougher surface and visible individual layers. Therefore, if you are looking to print an item with more intricate details, a thinner layer height would be the best option.

- Shell Thickness
The term Shell refers to the number of times the 3D printer traces the walls. These walls are on the outside of the design. The traces are made before the inner sections that are hollower are printed. The thickness of the shells, therefore, determines the thickness of the side walls. The thickness of the walls is an excellent determinant of the strength of the printed object. You can set the shell thickness by increasing the number if you are looking to create thicker walls. Most slicers come set to .8. This is a suitable setting for printing thick objects. However, if you are looking for better performance or less thickness, you can reduce the number.
- Retraction
The retraction setting informs the printer when to pull the filament from the nozzle. This happens when the printer has to work on discontinuous surfaces. This setting should always be enabled unless the print does not have discontinuous surfaces.

Other settings include;
- The fill density
- Support
- Print speed
- Initial layer thickness
- And the platform adhesion type
How does slicing software work?
The slicer works by cutting the CAD model into horizontal layers, depending on the slicer settings. It also calculates the number of materials that your printer will need and how long the printing process will last. All this information is converted into a GCode file and sent to the printer.

Conclusion
Any mistakes with the slicing software and its settings can lead to poor print quality. There is several 3D slicing software to choose from in the market. When determining the best, consider such factors as the settings.